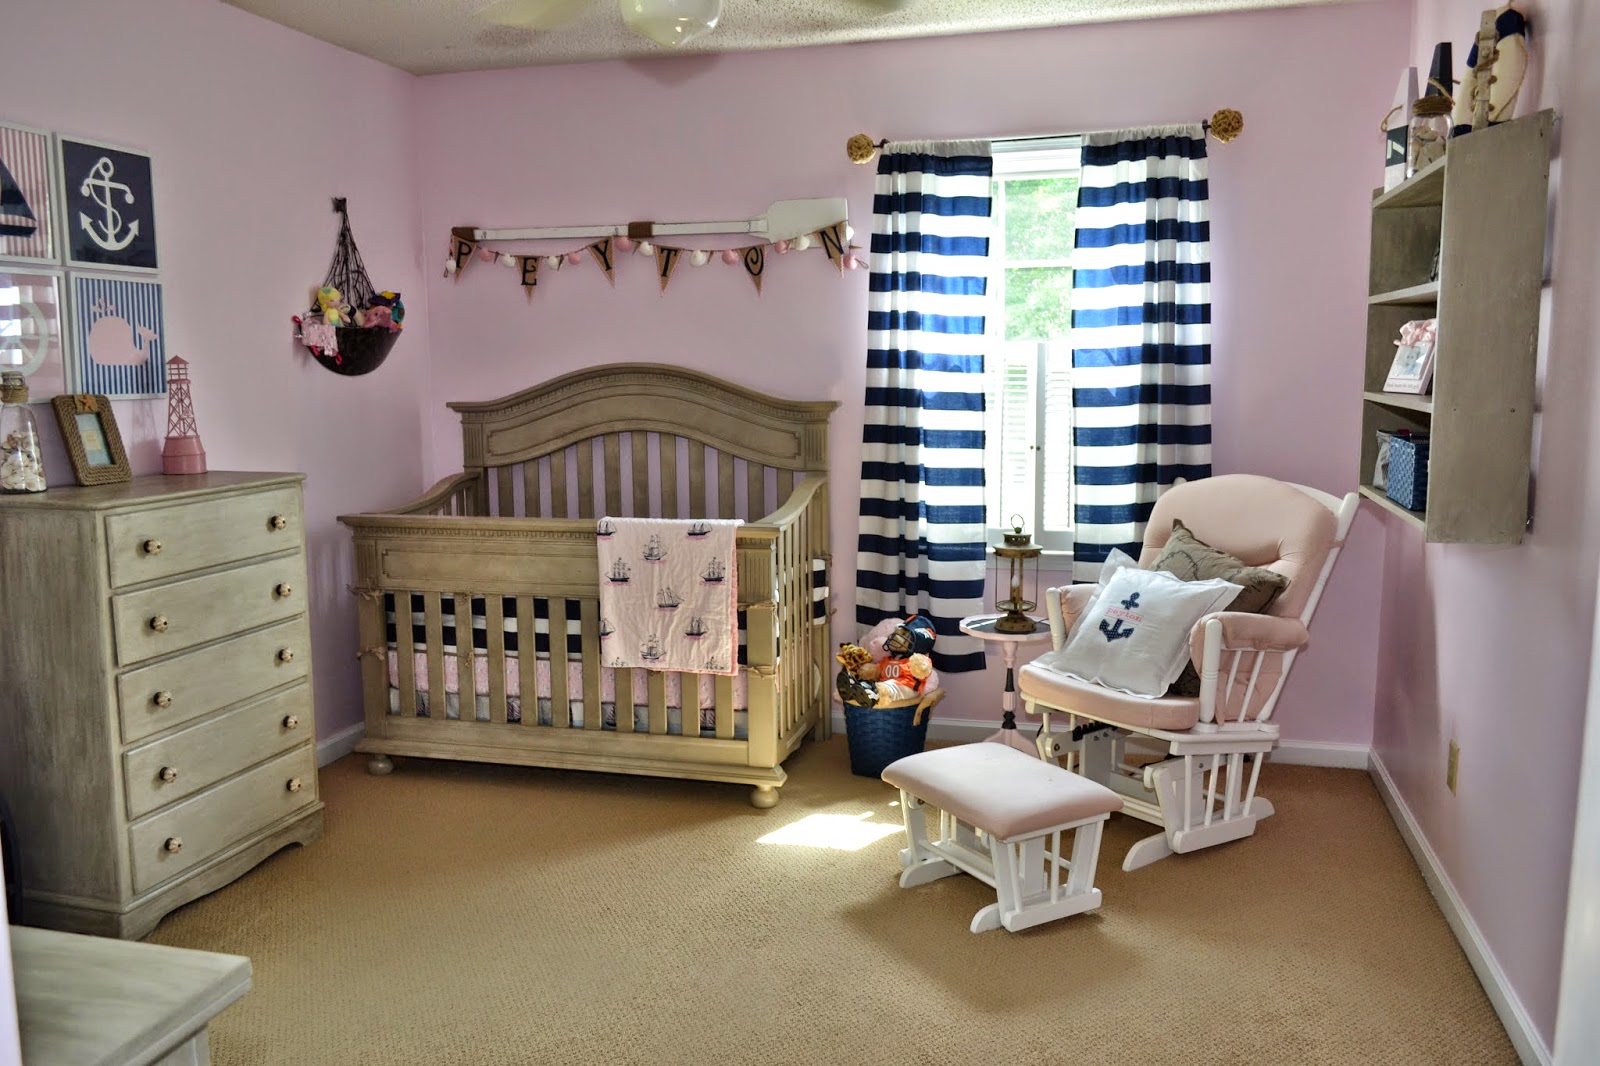
So above you can see some finished pictures of Peyton's
Nautical Nursery. Now that you have seen the finished project, you may be wondering what it looked like before. Well I'm so glad you asked. : ) This post is going to be about the changing table/dresser remodel & how it went from a dingy brown dresser we found abandoned in a garage, to the snazzy (if I do say so myself, haha) piece that you see above.
So here is what we found abandoned in the garage of a house we purchased. My husband saw junk of course, but as you have seen in my
Vanity Rehab & other
DIY posts...I thought it was furniture gold. It was a good solid piece that I just knew I could turn into something wonderful.
My first step was to remove all the hardware. Since the top was laminate, I didn't want to sand it & ruin it, but I did sand the few little areas that had some spilled paint.
So if I wasn't going to sand it, how on earth was I going to get the paint to stick to it? Oh just with the best stuff ever, the Kilz general purpose primer. This is the best stuff, especially with pieces like this that have parts that are solid wood & then tops that are laminate.
So here is the dresser & the drawers painted with the Kilz general purpose primer. It goes on grey, which worked out well since we were doing a lighter version of grey on this dresser.
Now for the color, originally we were going to go with white furniture in the nursery. However, while out shopping for a crib, my husband decided he really liked this grey crib. My husband usually has little opinions as far as how to decorate the rooms in our house, so since he had an opinion & the crib was really cute, we splurged & bought the grey crib. It was almost $750, which is way more than we were anticipating spending. Luckily, our moms decided to split it with us & each gave us $250. That was awesome. So here is the beautiful crib...

And here is the minor problem, it was a distressed grey that was nearly impossible to match to paint the other furniture. We took two different trips to Lowe's & brought home those little paint chips with colors that we thought would match. We even had a picture on our phone. Not one of the samples was even close. So we took a third trip where we picked up every single greyish paint chip. We brought home at least 30. Low & behold, we finally found one that was pretty close.
So I painted my primed dresser the grey color. This was about the time that my husband came out in the garage & said, "Uhh, isn't that way too light?" Ye of little faith. After the paint dried, I began the glazing process.
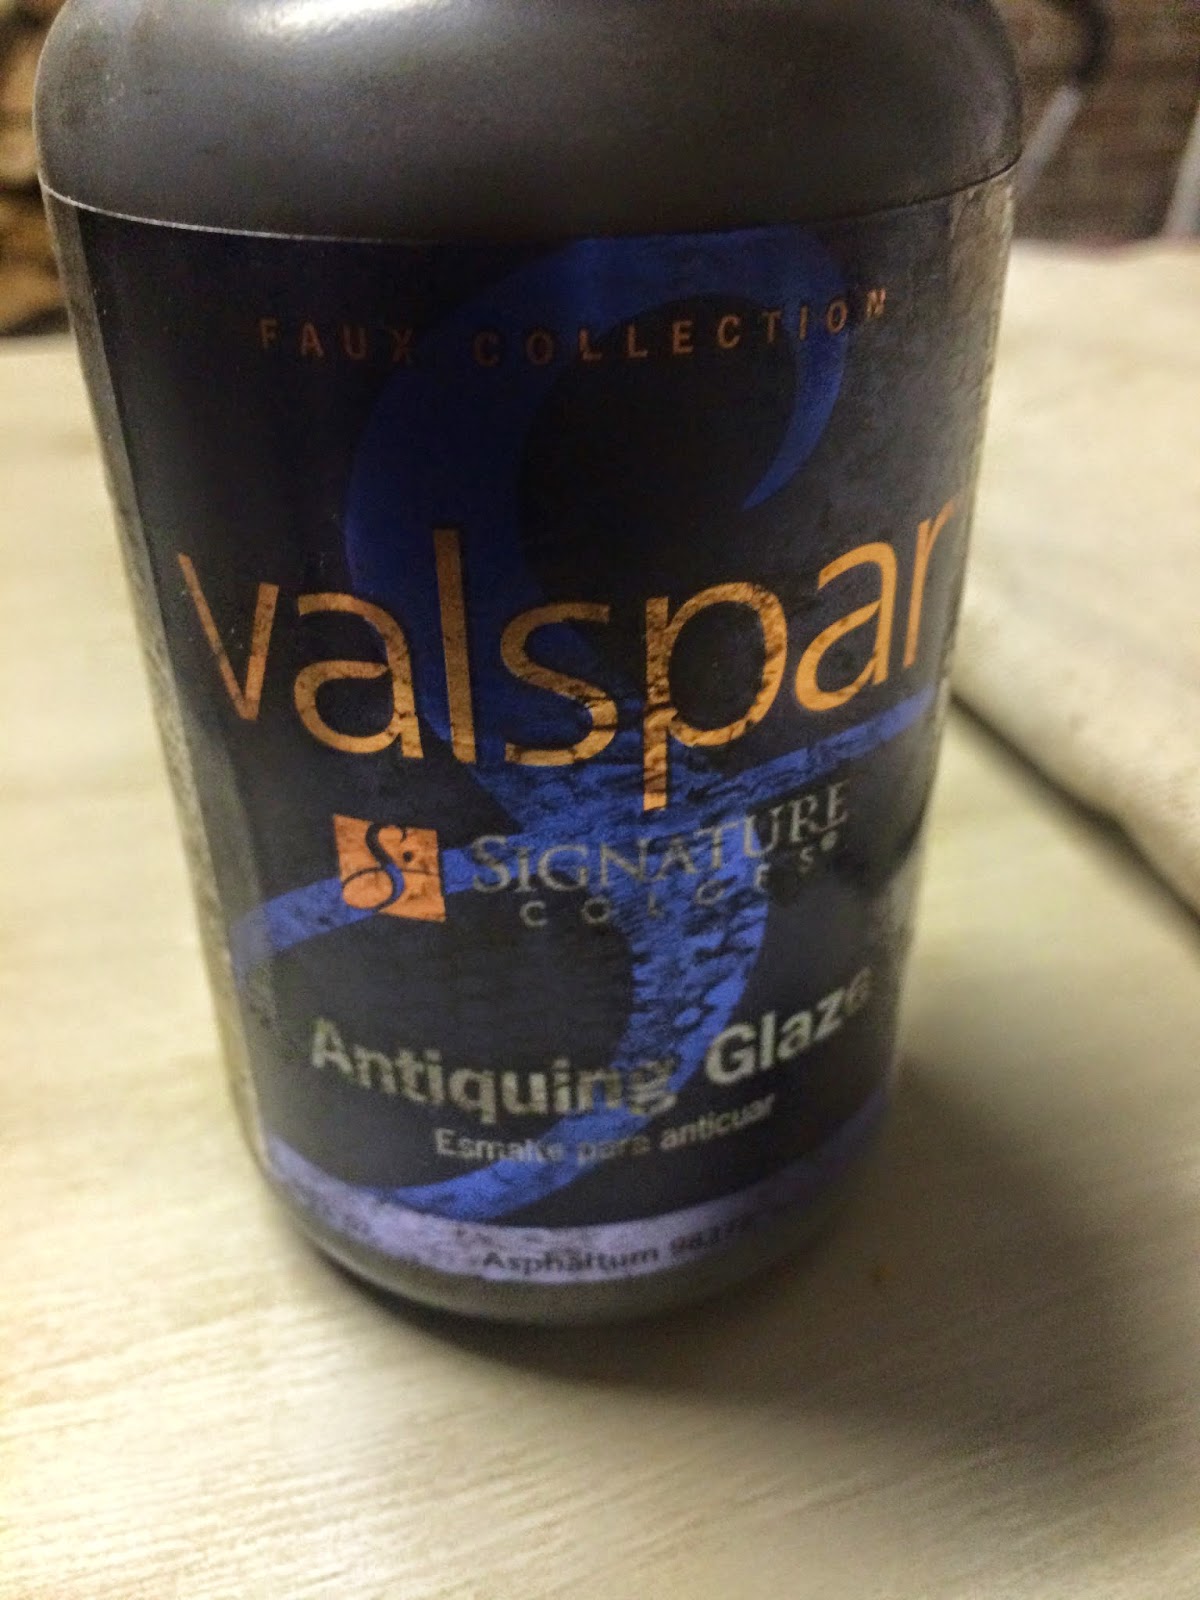
Now if you read my
Vanity Rehab post, you know how much I LOVE this Valspar antiquing glaze pictured below. It is fantastic. I use the asphaltum shade.
So I took a ripped up t-shirt & started rubbing the glaze on & rubbing the excess back off until I was satisfied that it was dark enough. Here are some up close shots of the drawers.
Now I worked on this project in the garage & the crib was already set up in the nursery upstairs. I had no clue how much glazing I needed to do in order to get the shades of grey the same, so I just winged it. And I must say, when my husband toted it upstairs, he was very impressed at how well they matched. It was pure luck that they matched so well, but we were all pretty satisfied with the end result. : )
For the pulls, I saw these pulls online at
Anthropologie & I thought they were perfect. Here is a pic of them.
However, these pulls were $12 a piece. So for 7 drawers...I don't think so. So I chatted with the hubby & he said he could make some rope handles. So we took a little sisal rope from Hobby Lobby (you probably saw me use this a good bit a the
Ahoy! It's a Boy! nautical shower) & my husband made some handles.
Above is the rope. Since my husband did this project, there are no step by step pictures, but he took the rope & first decided how long he wanted the handle to be. He used the holes from the original pulls & he tied knots on the outsides of the drawers on each end & then tied knots on the inside of the holes as well. To make the handles more secure, we took the upholstery stapler that I use for a lot of my
DIY projects & stapled the knots to the back of the drawers.
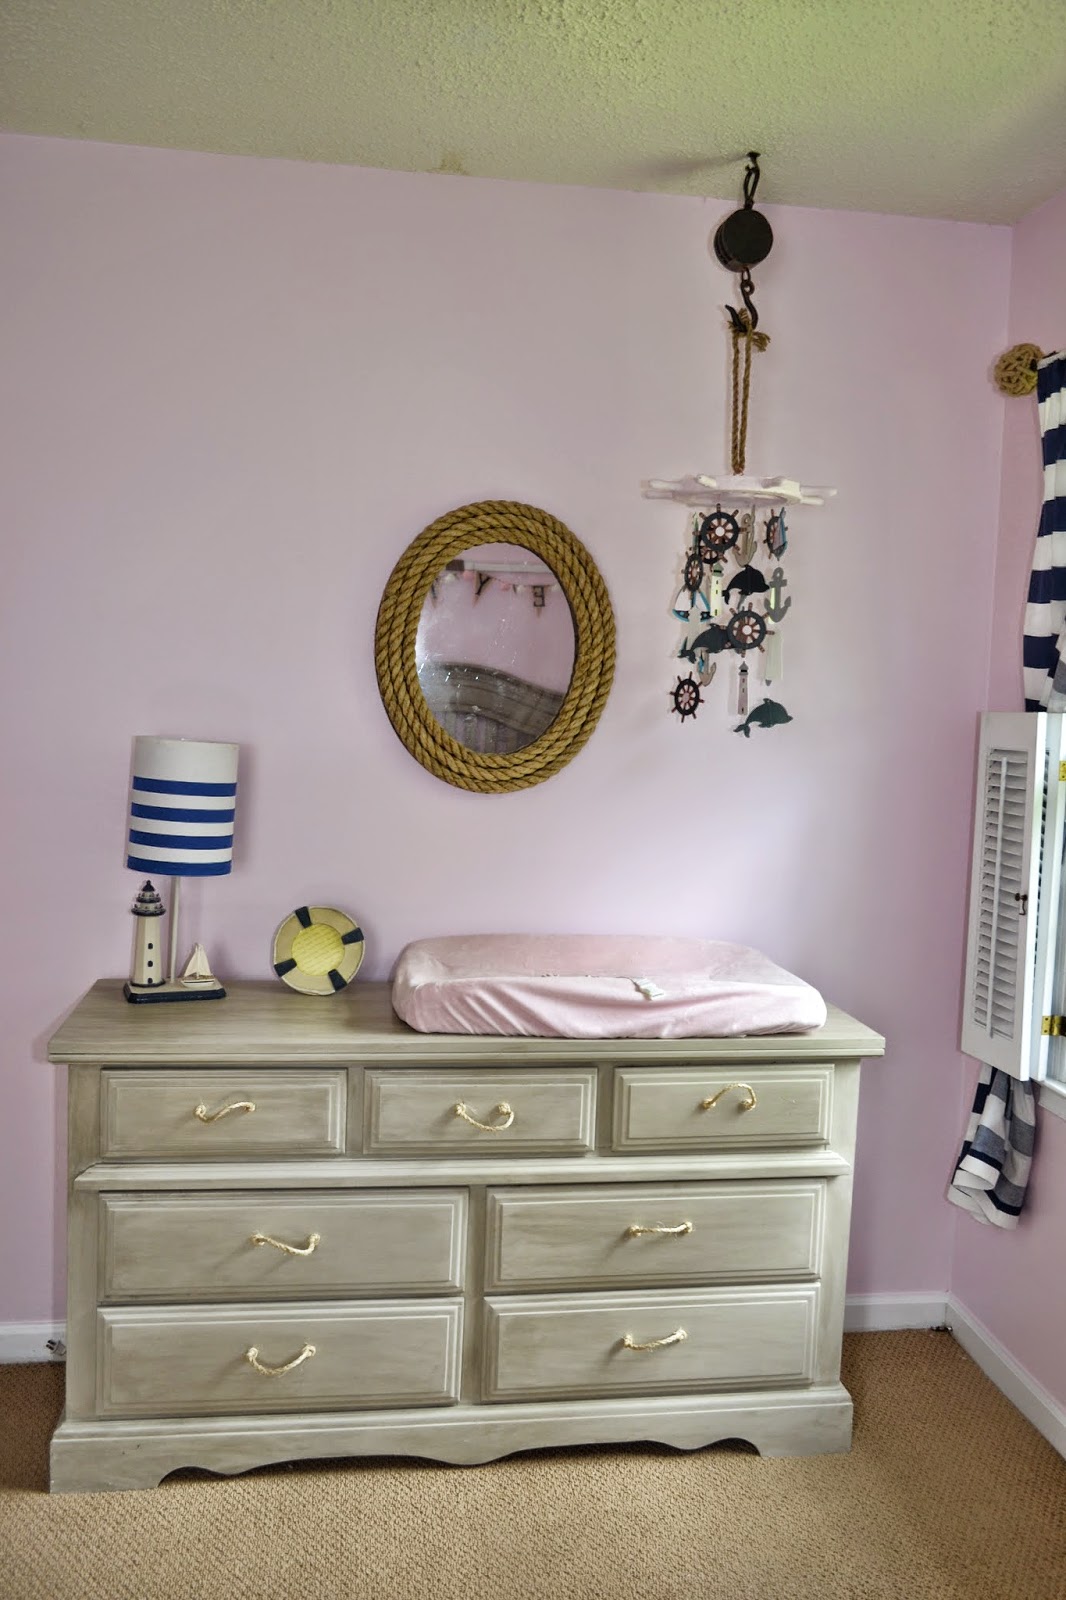
Here is the finished project. The lighting is not great, but you can see the distressed lines & the handles.
Here are some close-ups of the decorated dresser. We really loved how it turned out & besides the purchase of paint, it was relatively free since we already had the rope & the glaze. This was also a pretty fun project, since the hubby helped out. And since the dresser matches Peyton's crib (which turns into a bed), the dresser/changing table can grow with Peyton & just be a dresser as she gets older.


No comments:
Post a Comment